
Building a CM Lab in 2025: Using the Hydration Kit
- Matt Zaske
- March 03, 2025
- 9 minutes
I've been a proponent of a dev/test CM (or just client device) lab environment for a long time. Though folks in increasing number seem to feel like maintaining a Configuration Manager lab is irrelevant, there are still several benefits to maintaining such a space, especially if you're in the journey to cloud-forward management or need to stay in a CM ecosystem for valid business reasons.
This is the first post in a planned short series of how I build out, manage, and use my lab environment. It relies and points heavily at other sources, but with my angle and use cases highlighted. As always, your mileage and needs will vary.
The Lab Hardware and Hypervisor
Ask five people what their lab is built on, and you'll get five very different and valid answers. My short suggestion is to use whatever is practical, available, and affordable for your need. You can spend next to nothing, or thousands of dollars on a lab environment. Do what feels right for you.
My setup is pretty straightforward: I have a 15 year old Dell R710 2U server that was taken out of service and part of ewaste 10 years ago. It was part of a pair of redundant devices, and when I took delivery of the setup I consolidated the RAM and added about 5TB of spinning rust. It has a licensed and active version of Windows Server, and is the only non-evaluation version in my environment which is valuable as the hypervisor on which this is all built.
TL;DR: I have a multi-CPU (Intel Xeon) server with 5TB of disk and 128GB RAM. It is more than sufficient for a lab with clients. Powered by Hyper-V.
People run labs off of high-end laptops, too.
Lab Refresh Cadence
I mentioned the only licensed version of Windows I have for my lab is the hypervisor on which it all operates. This is intentional.
It forces me to rebuild the entire lab at least once every 180 days (twice per year) as the evaluation versions end. It is entirely possible to use the hydration kit with fully licensed versions, but one thing I have come to prefer is being forced to rebuild the lab twice a year. Sure, it's an effort and usually takes up part of a weekend, but I always get a clean slate that I can then customize as I see fit for the stuff I'm planning to do or present in the next six months without carrying forward the baggage of the past six months.
By doing a rebuild, I also leverage this hydration kit enough to have it customized just enough for my preferences.
The Hydration Kit
The good folks at Deployment Research have provided a Hydration Kit for many years (and iterations). For the purposes of this series, I'm using their Hydration Kit for Windows Server 2022/SQL Server 2019/CM Current Branch (explainer post and GitHub link). The documentation is lengthy and feature complete. It's worth a complete read. But with that comes complexity and additional bits when you're "in the moment" of building out your own lab. To that end, this specific post is about what I use to build out the basics:
- A domain controller;
- A CM siteserver/management point/distribution point; and
- 1-10 Windows client Hyper-V VM stubouts.
I don't generally build out or hydrate the MDT server, separate file server, or separate distribution point unless I absolutely need to (see above re: past and future needs).
The "Probably Just One Time Ever" Steps
These steps are done once-ish time, and I review if anything has changed between hydrations to add updated things. The first time you use the kit you'll have to pull down a bunch of applications, installers, and so forth. This part of the preparation was the worst, honestly. Finding/Downloading/Extracting/Saving all of the bits was time consuming, but they can be reused many times so stuff in this section can often be skimmed or skipped once you've done it the first time.
Prerequisite/Pre-Hydration Steps
Before I do any hydration, I make sure I have a properly configured internal virtual network with NAT enabled. There is a post explaining how to do so which is basically a "one time and done" on the hypervisor. My internal network for the lab uses the kit default assumption of 192.168.25.0 subnet.
I also customize my hydration kit generally following the information provided in the kit, but I have also used the script in the "Next Steps" section at the end of the post to handle customization as well. Specifically, I customize the following:
- Domain name/root path
- Organization name
- Timezone
- Default passwords
- Client OU Path
I also feed the hydration kit a modified list of AD OUs (ADOUList.csv) and AD Users (ADUserList.csv) in the Configure - Create AD Structure folder.
Preparing for Hydration
Before setup, you'll have to independently obtain a bunch of pieces. This is all clearly identified in the "Step 1 - Download the software" part of the guide. I generally skip the "Optional Servers" section, but I do grab a Windows 11 WIM (in the "Optional Clients" section).
Installing and Staging the Hydration Kit
This is all clearly documented in the "Step 2 - Install the Hydration Kit" and "Step 3 - Copy the downloaded software to the Hydration Kit" sections.
One thing to note, since I've never used MDT outside of the hydration kit (and you probably won't either), I skip the "Optional - Populate the hydration deployment share with files for MDT01" section.
The "Every Time You Re-Hydrate" Steps
Stub Out the VMs
"Step 4 - Create the bootable Hydration Kit ISO" section is something I do as standard practice just in case I forgot about a change, but it's only truly necessary if you updated any of the software or scripts between hydrations. This is the ISO you'll point your new VMs at to hydrate, which leads to...
"Step 5 - Create and Deploy the virtual machines" is the step you'll absolutely use every time you start from scratch on a new iteration. I always delete the old VMs and use the very handy New-LabVMsForHyperV.ps1 script to stub out the new ones:
PS C:\HydrationSetup\HydrationKitWS2022-main-2024> .\New-LabVMsForHyperV.ps1 -VMNetwork ZaskeDevNAT -ISO C:\ZaskeDevLab\ISO\HydrationCMWS2022.iso -VMLocation D:\LabVMs -SelectVMs DC
Validation steps completed, starting to create the Hydration Kit VMs
Creating VM DC01 in D:\LabVMs
Hydration Kit VMs created
PS C:\HydrationSetup\HydrationKitWS2022-main-2024> .\New-LabVMsForHyperV.ps1 -VMNetwork ZaskeDevNAT -ISO C:\ZaskeDevLab\ISO\HydrationCMWS2022.iso -VMLocation D:\LabVMs -SelectVMs CM
Validation steps completed, starting to create the Hydration Kit VMs
Creating VM CM01 in D:\LabVMs
Hydration Kit VMs created
Once this completes (it's super quick), you'll see two shiny clean offline VMs in Hyper-V Manager:

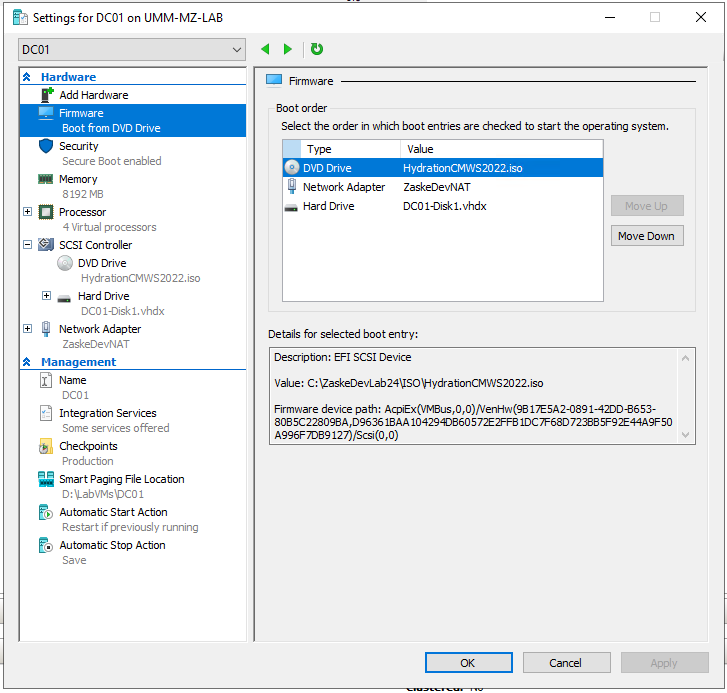
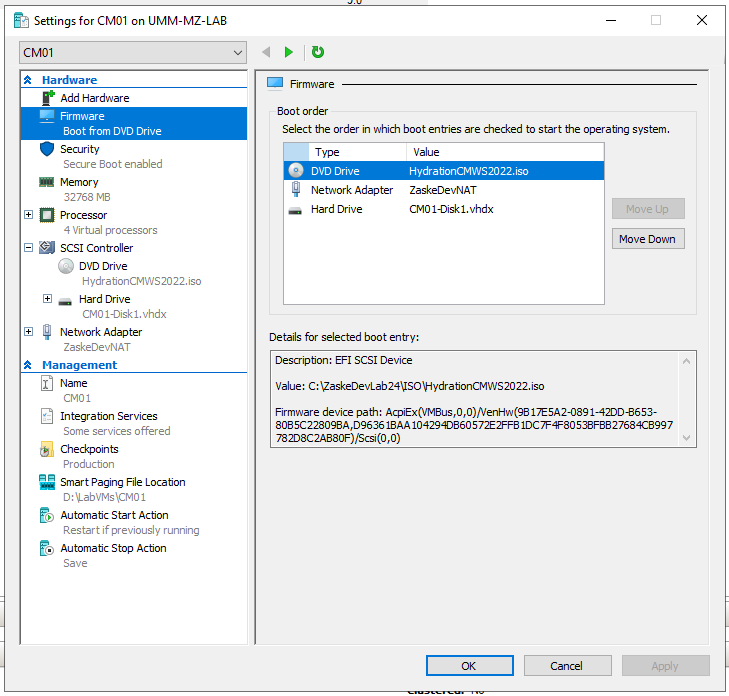
When you open up the settings for the DC01 and CM01 VM's, you'll see something similar (though I have the script use 8GB and 32GB RAM for these two, respectively, because my hypervisor has enough RAM to support it):
Hydrating DC01
Power up and connect to the DC01 VM, and it'll load the MDT menu, but not until you close out of this little error:
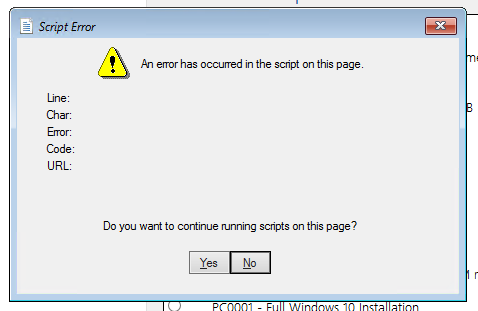
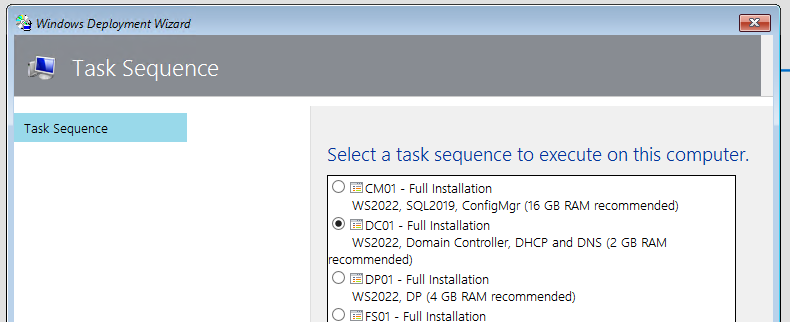
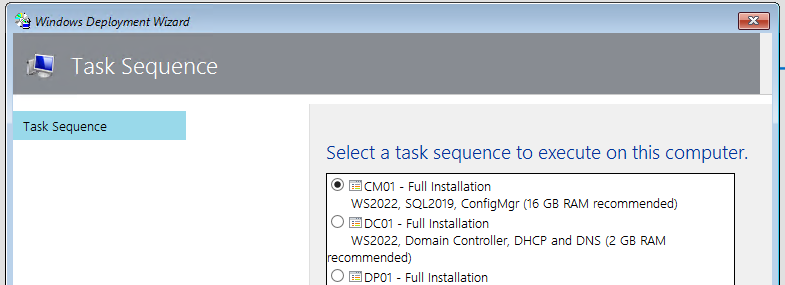
I use the "X" option and ignore the Yes/No buttons since they are ineffective. It's unclear what causes this error, but it's non-fatal for the purposes of hydrating these VMs. Once this error dialog is closed, you'll be presented with the Task Sequence menu, at which you'll select the DC01 - Full Installation Task Sequence:
Once this is running, it'll go through several phases, including the base OS installation, installation of applications, and so forth. Just leave it be during this part:
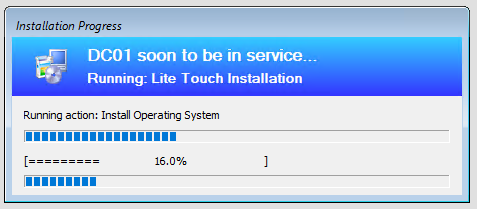
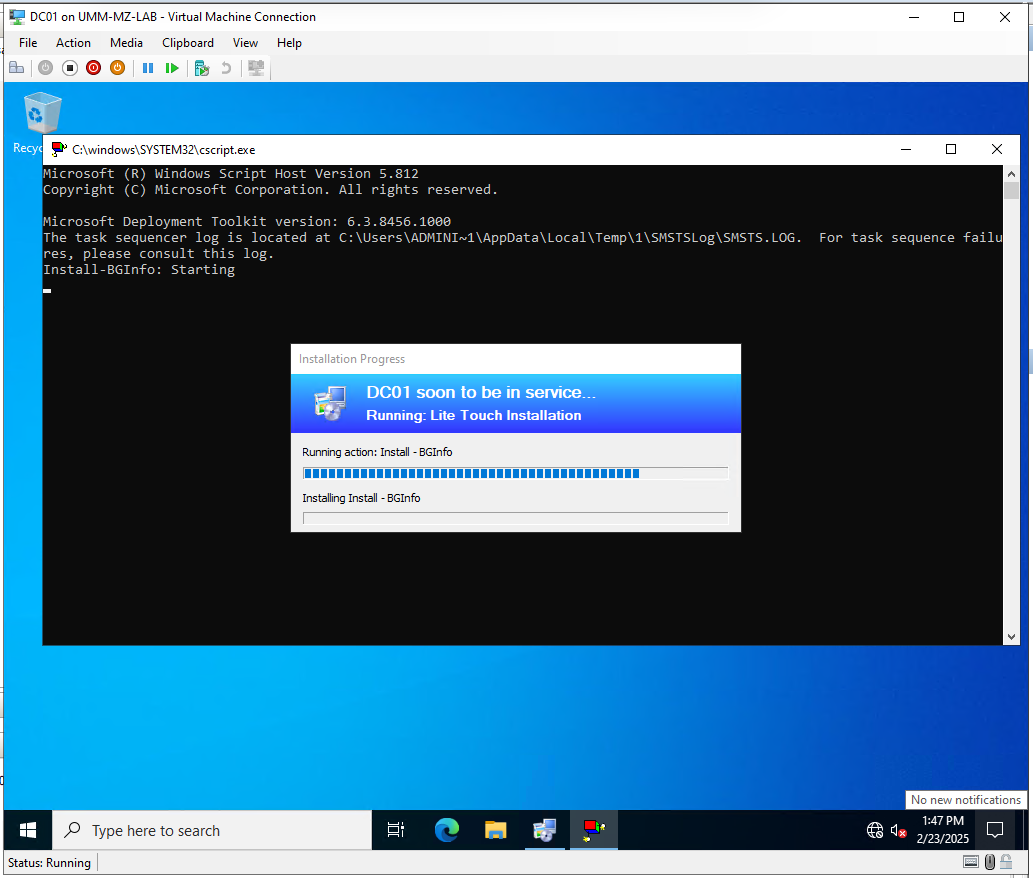
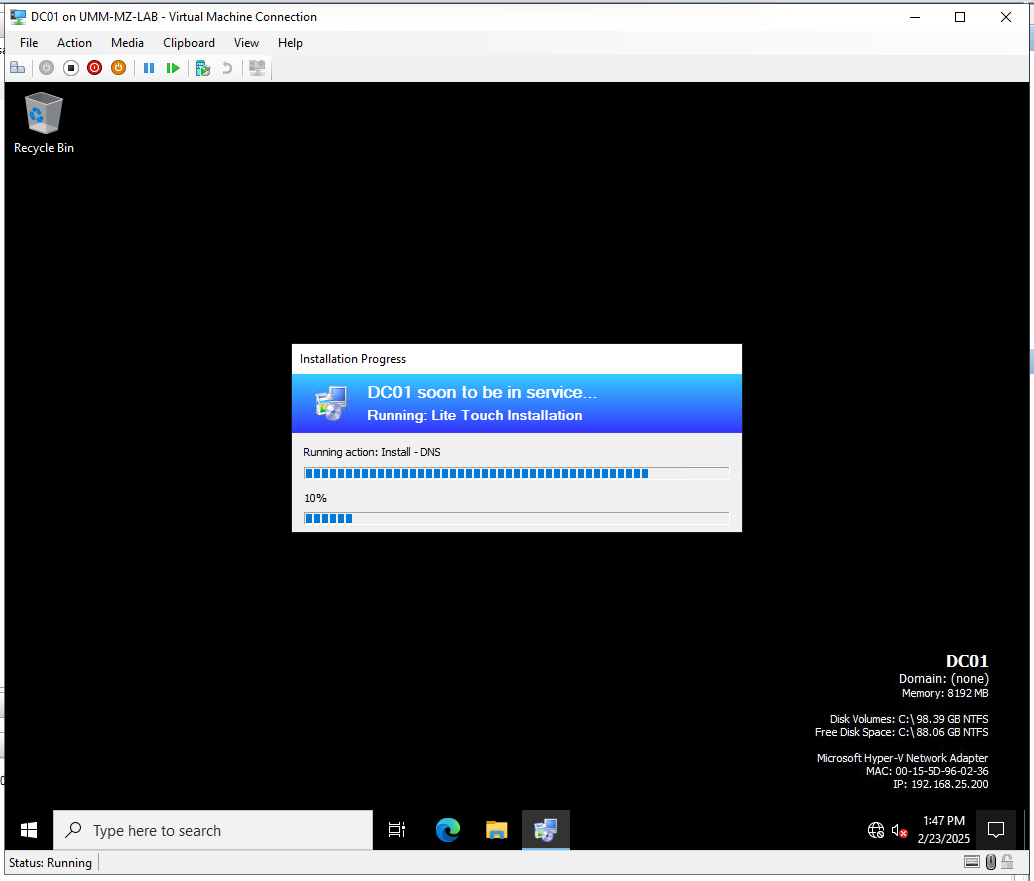
If you're using the default 2GB of RAM, this hydration will take a fair bit of time, but it's absolutely safe to leave running on its own. Don't do anything else until the hydration is complete:
At this point you should have a fully-functional AD Domain Controller, DHCP server, and DNS server!
Hydrating CM01
Once the DC is settled in (I often reboot it for good measure), it's time to hydrate the CM siteserver! You'll power it on, connect to it, and close out that error dialog, then select the CM01 - Full Installation Task Sequence:
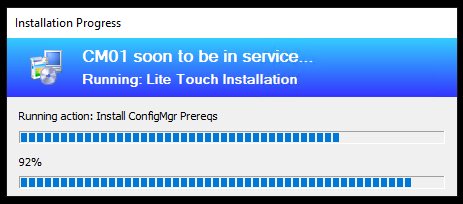
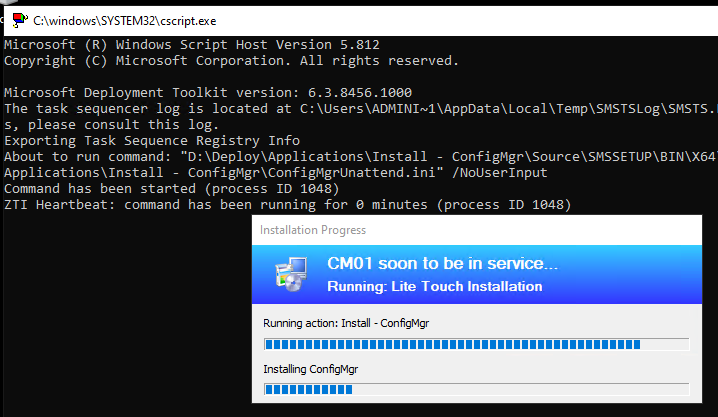
The CM01 hydration takes an exceptionally long time, as it has a lot of stuff to deal with and install. But with time you'll see similar progress, including things like this:
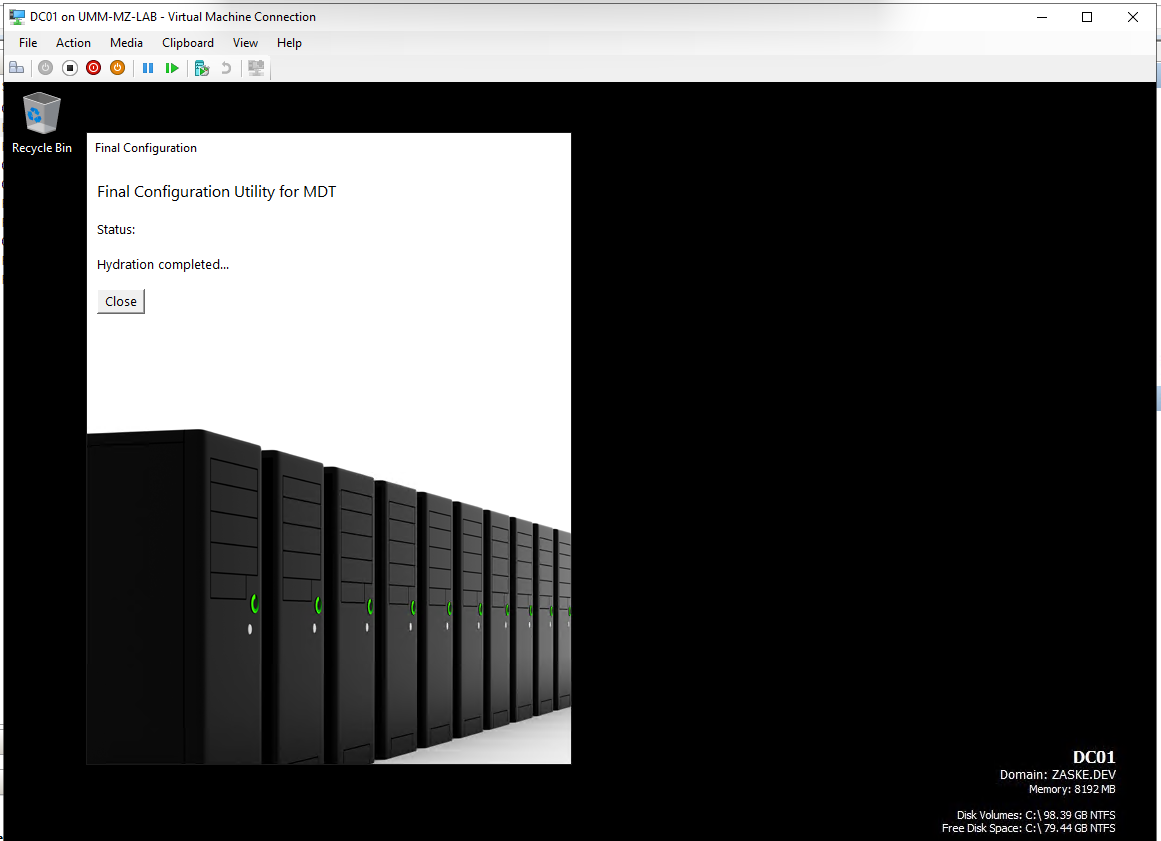
Eventually the CM01 server will reach its completion and the same dialog as DC01 (Hydration completed) will be presented. At this point you should have a ready-to-configure Configuration Manager Siteserver!
Sidebar: WSUS and "Optional Post-ConfigMgr Install Tasks"
In the documentation for "Next Steps" with the CM hydration, there's discussion about optional WSUS, SSRS, and providing software updates. I have only followed those steps one time when I was trying to investigate an issue. It's very rare for me to need to install, configure, care, or feed WSUS and SUP for my lab. This section can safely be ignored (or treated as optional), and if you do need them I would recommend following other tutorials or guides to set it all up (because it can get gnarly complex really quickly).
Sidebar: "But My CM Siteserver Is Misbehaving..."
It's not clear exactly why, but I have almost always had to hydrate the CM01 server twice before it's fully operational. It has failed (silently and non-fatally) for various reasons over the years that appear to be network-related in my lab configuration (specifically DHCP), but this is not expected or common behavior for other users of the hydration kit. But I do know of other kit users who have had this problem, so it's not just me.
I've been working with Andrew Johnson (who does a tremendous job helping to curate and maintain these kits) for a possible resolution, but at the same time pointing the CM01 VM back at the HydrationCMWS2022.iso, setting it as the first boot order, and re-hydrating the CM01 box a second time has always solved the problem, so ¯\_(ツ)_/¯
TL;DR: If for some reason one of these VMs doesn't seem to "work" out of the box, reset it and give it another try. It will probably work the second time!
What's Up Next?
In the next post I will walk through the steps I use to configure my CM Siteserver, featuring some great work and guidance from none other than Gary Blok of Garytown fame.
Recent Posts
Past Speaking Engagements
I was a speaker at MMSMOA, May 3-7, 2026!
I was a speaker at MMS Music City Edition, October 12-15, 2025!
I was a speaker at TCSMUG Autopilot/OSD Day, July 15, 2025!
![]()
I was a speaker at MMSMOA, May 4-8, 2025!
I was a speaker at BrainStorm K20 Wisconsin Dells, March 9-11, 2025!

I was a speaker at MMS Flamingo Edition, October 20-23, 2024!
I was a speaker at TCSMUG OSD Day, July 31, 2024!
![]()
I was a speaker at NWSCUG, July 19, 2024!
![]()
I was a speaker at MMSMOA, May 5-9, 2024!
I was a speaker at BrainStorm K20 Wisconsin Dells, March 10-12, 2024!
I was a speaker at MMS Miami Beach, October 29-November 1, 2023
